OAUTH 2 support in the Neuron
The Neuron® now supports OAUTH 2.0, and can be used as an authorization server in OAUTH-compliant systems (from build 2026-07-13). The OAUTH 2 environment available in the Neuron includes the following resources:
- An authorization resource (RFC 6749) at
/oauth/authorize. - A token resource (RFC 6749) at
/oauth/token. - A dynamic client registration resource (RFC 7591 and RFC 7592), supporting both public and confidential client registrations, at
/oauth/register. - A management resource for dynamic client registrations (RFC 7591) at
/oauth/registration. - A resource providing support for the device authorization flow (RFC 8628) at
/oauth/device - A server OAUTH meta-data resource (RFC 8414) at
/.well-known/oauth-authorization-serverallowing external parties a way to find available resources and features. - A resource providing meta-data for protected resources (RFC 9728) at
/.well-known/oauth-protected-resource.
Apart from the resources defined, there are some notable features and extensions that are supported, and merit mentioning:
- Proof Key for Code Exchange by OAuth Public Clients (PKCE) (RFC 7636), securing the authorization flow.
- Support for refresh tokens (RFC 6749)
- Implicit token generation from traditional Neuron authentication, or Mutual TLS (mTLS).
- OAUTH clients (services) that want to use the Neuron as an OAUTH authorization server, should register themselves with the Neuron using the dynamic client registration interface, and provide a human-readable name, logotype and corresponding URIs for more information.
- Dynamic login forms generated by the OAUTH environment are generated first in Markdown, and then transformed to HTML before being returned to the user. This allows opertors of the Neuron to customize the look & feel of the login form, by customizing the
MasterOAuth.mdfile available in the web root folder. The dynamic form is embedded in this master file, before being rendered as HTML.
Authentication, scopes and privileges are related as follows:
- Scopes in OAUTH, are translated into Privileges in the Neuron, having the prefix
OAUTH.Scope.followed by the scope, where colons (:) are replaced by periods (.). - An external party can authenticate itself with the OAUTH environment, and be authorized to receive a JWT token, which it should provide in subsequent requests using a
Bearertoken in anAuthorizationHTTP header. - Dynamic client registrations, and clients that authenticate themselves using credentials for an XMPP account, have no privileges by default. Attempts to authorize access to specific scopes using such accounts will be rejected.
- Administrative user accounts will have the privileges provided to them via the Roles defined for the corresponding user accounts.
Dynamic client registration has been integrated into the Neuron using the following principles:
- A remote endpoint can register at most 2 clients (public or confidential).
- Registered clients receive a corresponding XMPP account with the same
client_id. These accounts are disabled for XMPP communication by default, but can be enabled manually. (Future work may provide a mechanism to automatically enable such accounts, by validating e-mail and/or phone numbers provided in client registration.)
Security Note: You can limit access to OAUTH using the Web-Application Firewall (or WAF), by restricting access to any resource that starts with /oauth/.
Queue Event Sink
A new Event Sink is available (from build 2026-06-01), permitting the temporary storage of logged events into a local Queue. Queues perist elements in an encrypted manner, and processes them in accordance with FIFO (First-In-First-Out) order. A queue frees processes that generate items from processes that process these items. They can work in different paces, and can be updated/run on different times.
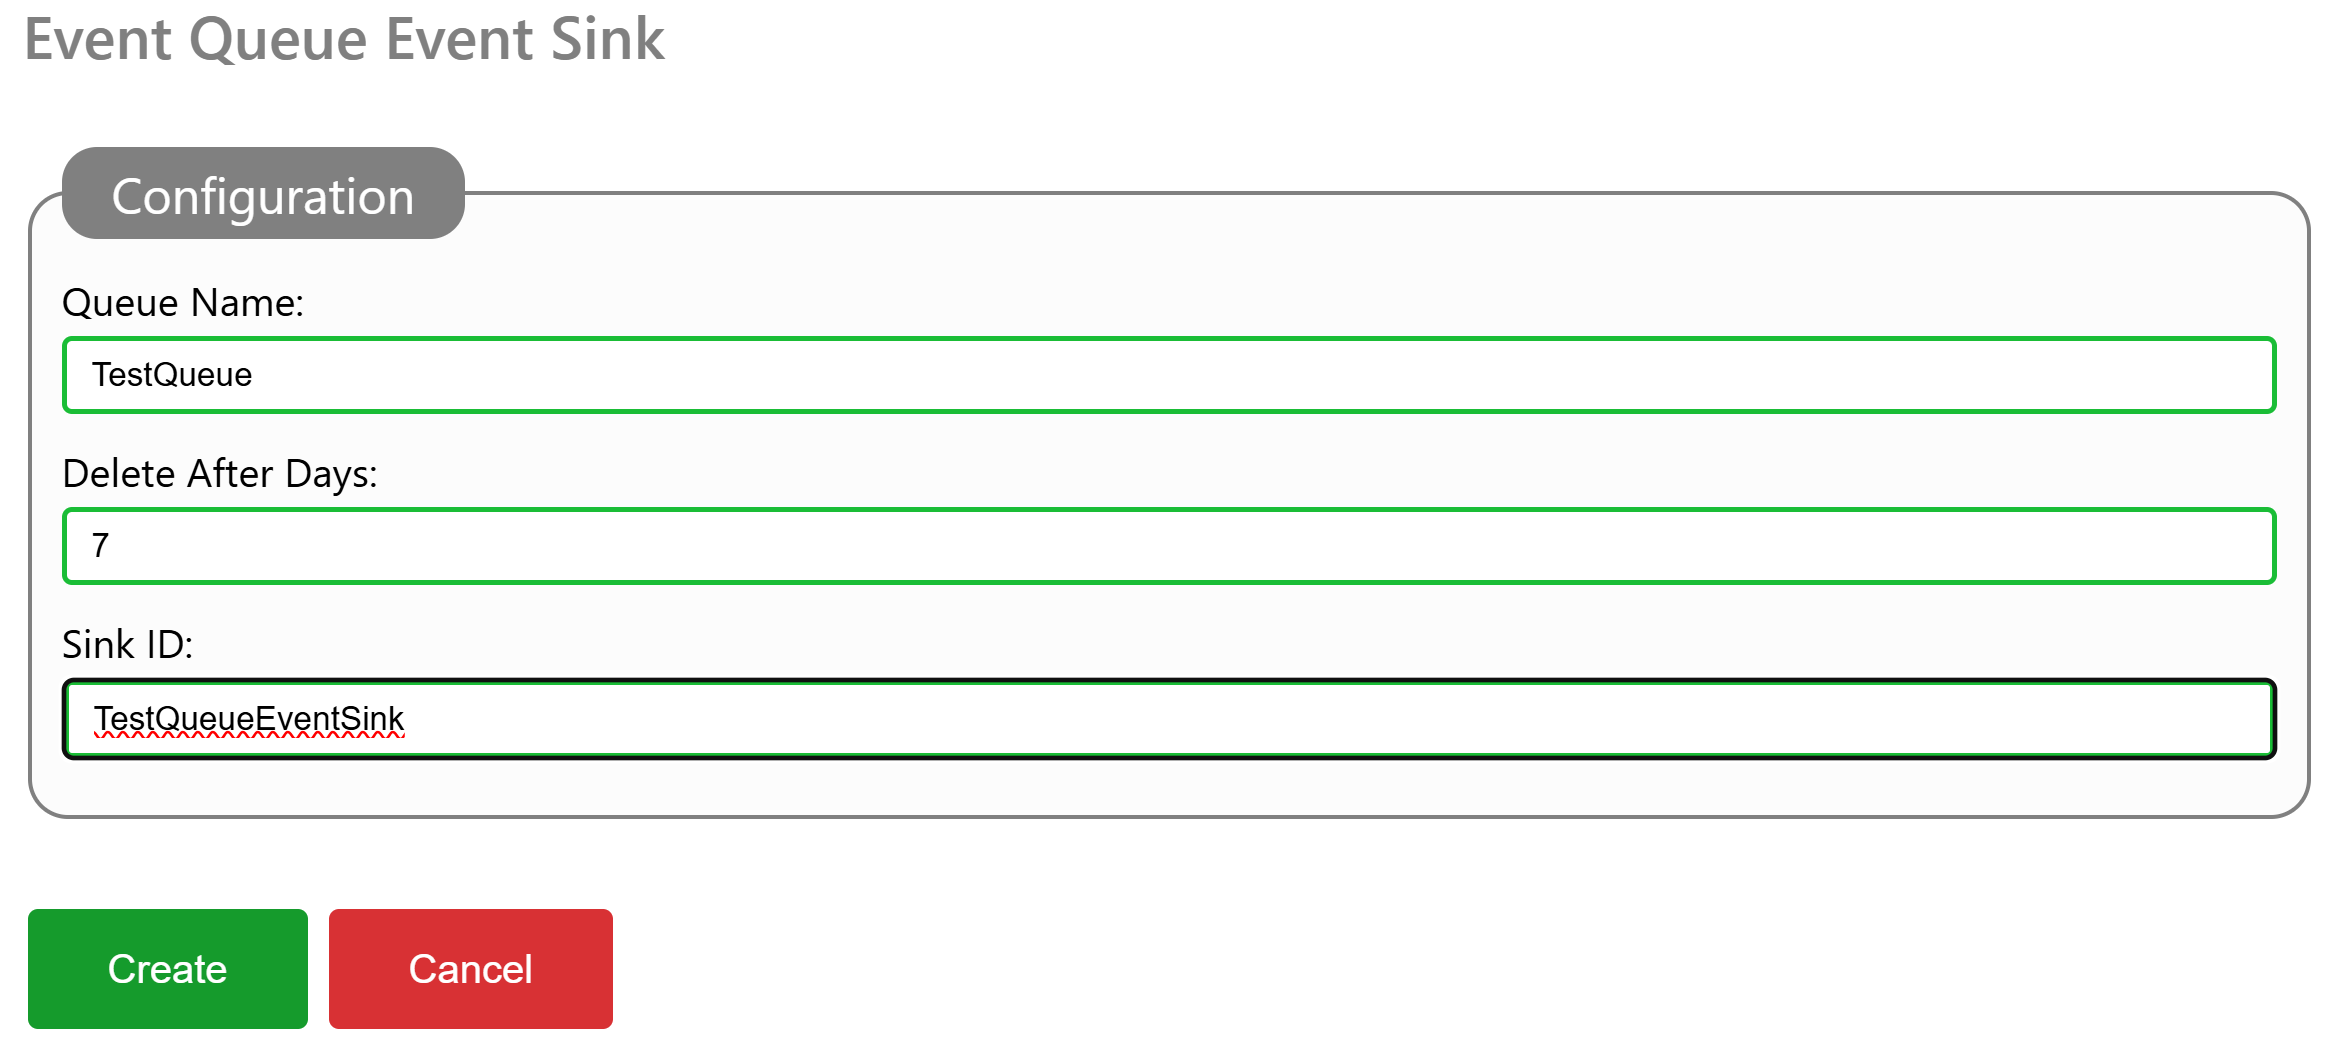
To configure a Queue for temporary encrypted storage, you add a EventQueue element to the event sinks section of the Gateway.config file, and restart the Neuron®. You can also add such an event sink, via the administrative interface, under Sources & Nodes, and the Gateway configuration source.
You need to provide a Name for the Queue. This Name is later used to dequeue items that have been enqueued by the event sink. You also provide a number of days which items are stored in the queue. Older items are regularly purged from the queue, to avoid it growing indefinitely. A Sink ID must also be provided. This ID appears in event logs, in case something related to the event sink needs reporting.
To access enqueued events, you can either dequeue them in local services, or use the Queue API. If you are using Postman, there’s a public repository containing a Postman collection for the Queue API.
#new, #features, #neuron, #gateway, #events, #eventsink, #api, #queue
HTTP Proxy
The TAG Neuron® now (from build 2026-05-12) has a new API: A generic HTTP Proxy at /HttpProxy. It allows clients to use the broker as a proxy to access resources on the Internet. This can be useful in multiple cases, for instance in environments where access to certain resources are limited, but the Neuron has free access. One such example is accessing HTTP-only resources from a smart phone environment, which requires use of HTTPS, and the remote web server does not have HTTPS enabled. (This is the case for certain ICAO Certificate Revocation Lists for example.)
Authentication
The HTTP Proxy resource requires authentication. The reason for this restriction is to avoid the broker to become a point for third parties to commit cyber-crime. The resource supports multiple form of authentication: Normal WWW-Authenticate is supported, mTLS (for brokers where this is enabled), or JWT Bearer tokens. Session login is also supported. This makes it possible to integrate the resource in web pages hosted by the Neuron.
JWT Bearer tokens is usedful in environments based on XMPP, where access to HTTP-based resources is required, but restricted by the operating system, such as the Neuro-Access smart phone app.
Since the app, in this case, has an XMPP connection to the broker, it can get a JWT token from the broker by using the HttpxClient class (HTTP over XMPP) in the Waher.Networking.XMPP.HTTPX library. Calling the GetJwtToken method returns a JWT token that can be used to make HTTP requests to the broker, authenticated as the XMPP account.
Redirecting HTTP links
If using InternetContent in the Waher.Content library to access content on the Internet, you can redirect HTTP-only links to a custom resource by providing an event handler to the WebGetter.HttpUriEventHandler event. Take the opportunity to provide a new URI in the event arguments, redirecting the request to the HTTP proxy resource of the Nueron to which the client is connected using XMPP. You also need to add the Bearer token to the Request headers available in the event arguments. The URI itself is then URI encoded and added as a sub-path to the /HttpProxy/ resource.
Example
The first step is to get a JWT token from the Neuron, identifying the XMPP connection the client has. We use the HttpxClient method GetJwtTokenAsync method, providing the number of seconds we want the token to be valid:
string Token = await this.httpxClient.GetJwtTokenAsync(60);
We then create an event handler to reroute HTTP-only requests to the HTTP proxy on the Neuron to which the client is using, using HTTPS. Creating an event handler for this purpose is simple (replacing DOMAIN in the example with the domain of the Neuron). We also need to add the Bearer JWT token by using an Authorization header:
private static void ViaProxy(object Sender, HttpUriEventArgs e)
{
	e.Uri = new Uri("https://DOMAIN/HttpProxy/" + WebUtility.UrlEncode(e.Uri.ToString()));
	e.Request.Headers.Add("Authorization", "Bearer " + Token);
}
We need to assign the event handler to the event:
WebGetter.HttpUriEventHandler += ViaProxy;
Later, when we do not need to redirect HTTP requests any longer, we need to unregister it:
WebGetter.HttpUriEventHandler -= ViaProxy;
While the event handler is registered, any access to web resources using HTTP, by using the static InternetContent class, will be seamlessly redirected to the HTTP proxy. Example:
ContentResponse Response = await InternetContent.GetAsync(
	new Uri("http://example.org/"),
	new KeyValuePair<string, string>("Accept", HtmlCodec.DefaultContentType));
Age-verification without leaking birth date
This article describes the process of how to create a Legal Identity that can be used to demonstrate you have reached a certain age, without having to disclose your actual birth date. This is an important mechanism to protect the integrity of personal information, especially if the person is a child.
Creating a Preview ID application
The first step is to create a Preview Legal Identity application containing sufficient personal information so that the age can be verified. This application will have to contain sensitive personal information, including birth date. But creating a Preview application ensures the data is not stored in a searchable database or logs. Instead it is stored in encrypted form, and only during the process to validate the information. Once the preview application has been validated, a new application can be created, containing a subset of the sensitive information, and once that is completed, the sensitive information will be removed.
The personal data necessary to include in the Preview application is:
| Property | Description |
|---|---|
BDAY |
Birth Day |
BMONTH |
Borth Month |
BYEAR |
Birth Year |
AGEABOVE |
Age above the stated number of years |
Creating real ID application
Once the Preview application has been approved, a new, real ID application is made. This new application has to have a reference to the Preview application, and should only contain a subset of the properties. At a minimum, the following properties should be included:
| Property | Description |
|---|---|
PREVIEW |
Reference to the earlier Preview application. |
AGEABOVE |
Age above the stated number of years |
Once this application has been approved, the sensitive personal information will be removed as the preview application is deleted.
Proving your age
Proving your age is as simple as performing a Quick Login with the new identity. If property filters are used, include the AGEABOVE property. As the new identity contains a reduced set of information, and no birth-date (if it was removed in the second step above), only the AGEABOVE property is received, together with proof the Neuron has validated the claim.
How to set AGEABOVE
The AGEABOVE property should not be set to the age of the user, as that can leak personal information. Instead, it should be set to a legal limit required for one or more specific purposes. If there’s an age requirement in a country for a particular purpose, that age should be encoded in the AGEABOVE property. The property will be accepted if the personal information provided in the preview can be validated, and the age of the person deduced is at or above the indicated number.
As there are different age limits for different purposes and countries (for instance, 13, 15, 16, 17, 18, 20 and 21 are common limits), the site that tests the age of a user should not expect the number to be a specific value. Instead, it should expect the number to be at least a specific number. If there’s an age requirement for a service of 16 years of age, identities with any number for AGEABOVE greater or equal to 16 should be accepted as proof ther person is at least 16 years old.
Ensuring you have reached a certain age to create an identity
The AGEABOVE property can also be used to ensure the user of the app attempting to create an identity, has reached a certain age. Adding the property ensures the identity attempted to be created only gets approved, if the person actually has reached the age.
If the person has not reached the corresponding age, the property will become invalid, and an error with error code AgeNotReached will be logged on the application.
Validating Electronic Travel Documents & ICAO PKI Certificates
When validating electronic Travel Documents, applications need to validate against corresponding issuer certificates not managed by the operating system. To do that, the application needs to get access to these certificates somehow, and build custom X.509 chains during validation. To avoid having such an application to embed the entire list of all these issuer certificates, a list which also get regularly updated, a new repository and package is available that publishes these certificates on Neurons where the package gets installed. Applications can easily check with the corresponding neuron and download the required certificates, based on the Authority Key Identifiers available in the Electronic Travel Document certificates.
| Information about the ICAO PKI Certificate package | |
|---|---|
| Package | IcaoPkiCertificates.package |
| Installation key | vAa0l/iFHVogQYUzm+Zs6qPsw+7lYrnyFn4MNAGA7+Gso442gJJMKjknHqka/YjM6gZZSS65HL8Adbfba1067a1a27163b905869469d6f0d |
| More information | https://github.com/Trust-Anchor-Group/IcaoPkiCertificates |
#features, #id, #kyc, #neuron, #api, #repository, #package, #new
Posts tagged #features
No more posts with the given tag could be found. You can go back to the main view by selecting Home in the menu above.