Embedding PDF Documents in Markdown via URL
As mentioned in a previous article, PDF documents can be embedded into Markdown. You can now also embed PDF documents, by simply using the URL, and embedding it into a multimedia construct in Markdown.
Example:

This results in:
Publishing and transforming XML web content using XSLT
You can now publish XML files as web content, and have the XML source be automatically transformed to a web page using XSL transforms (XSLT). This feature is available from build 2025-08-26. The XSLT can transform the XML to either Markdown or directly to HTML. By doing this you can publish the content directly using its source in XML, without worrying about having to update any corresponding content pages. The XSLT will automatically transform the underlying source data to its presentable form when a user wants to see it.
Example
Consider the following source XML file. It describes a harmonized interface, and the XML acts as a definition for the interface:
<?xml version="1.0" encoding="utf-8"?>
<?xml-stylesheet type="text/xsl" href="/Xsl/InterfaceToMarkdown.xslt"?>
<interface xmlns="urn:nfi:iot:hi:1.0" id="urn:nfi:iot:hi:actuator:analogOutput:1.0">
	<description>Generical analog output.</description>
	<sensorData>
		<field name="Analog Output" use="Optional" m="true" type="q" description="Momentary output value."/>
		<field name="Analog Output, Raw" use="Optional" m="true" type="integer" description="Momentary raw binary output value."/>
		<field name="Analog Output, Bits" use="Optional" s="true" type="integer" description="Number of bits of precision of output value."/>
		<field name="Analog Output, Range, Low" use="Optional" s="true" type="q" description="Lowest possible value."/>
		<field name="Analog Output, Range, High" use="Optional" s="true" type="q" description="Highest possible value."/>
		<comment><![CDATA[The output value must be reported using the correct precision and unit. Examples of units that could be used:

* `%` - for instance 0-100 %
* `mA` - for instance 4-20 mA
* `V` - for instance 0-10 V]]></comment>
	</sensorData>
	<controlParameters>
		<parameter name="Analog Output" use="Mandatory" type="numeric" range="RangeElement" description="Desired state of output."/>
		<parameter name="Analog Output, Raw" use="Optional" type="integer" range="RangeElement" description="Desired raw state of output. The int version must always be supported. If the range supports numbers larger than that supported by the int type, the device must also support the long version."/>
	</controlParameters>
</interface>
Notice the second row. It contains a processing instruction that references an XSL Transform document that can be used to transform the XML:
<?xml-stylesheet type="text/xsl" href="/Xsl/InterfaceToMarkdown.xslt"?>
You can review the XSLT transform referenced here. See if you can see how it works. Otherwise, review the XSLT tutorial on w3schools to learn how XSLT works.
XSLT on the Neuron
On the TAG Neuron®, the XSL Transform procedure works a bit differently than on a traditional web server. In the traditional case, it is the browser that transforms the XML into a presentable page. This means that all the information is returned, including information you might not want to present. The process is also somewhat slowed down, since two requests have to be made.

On the Neuron, it is the the web server that transforms the XML into a presentable page, not the browser. This means that only one request has to be made. Furthermore, the web server can transform the content in two passes, simplifying the construction of the XSLT: The developer can choose to transform the XML to Markdown first. This Markdown then gets implicitly transformed into HTML in a second step:

A developer can also choose to transform the XML directly to HTML, as in the traditional case. Still, on the Neuron, this transform would be performed on the server:

An added benefit of transforming the content on the web server, is that you get consistent results regardless of browser used to view the page.
Embedding PDF Documents in Markdown
It is now (from build 2025-07-24) possible to embed a PDF document into a Markdown page using a simple code block. The basic syntax is as follows:
```application/pdf:PDF Document
JVBERi0xLjcNCiW1tbW1DQoxIDAgb2JqDQo8PC9UeXBlL....
....
```
The code block is rendered to an embedded object in HTML (<embed/>), which, if the browser supports this tag, will display the PDF document directly embedded in the text.
This can be used for multiple purposes:
- Sharing and displaying documents in posts or documentation.
- Using PDF documents in KyC.
- Uploading PDF documents to smart contracts, for documentation purposes.
- etc.
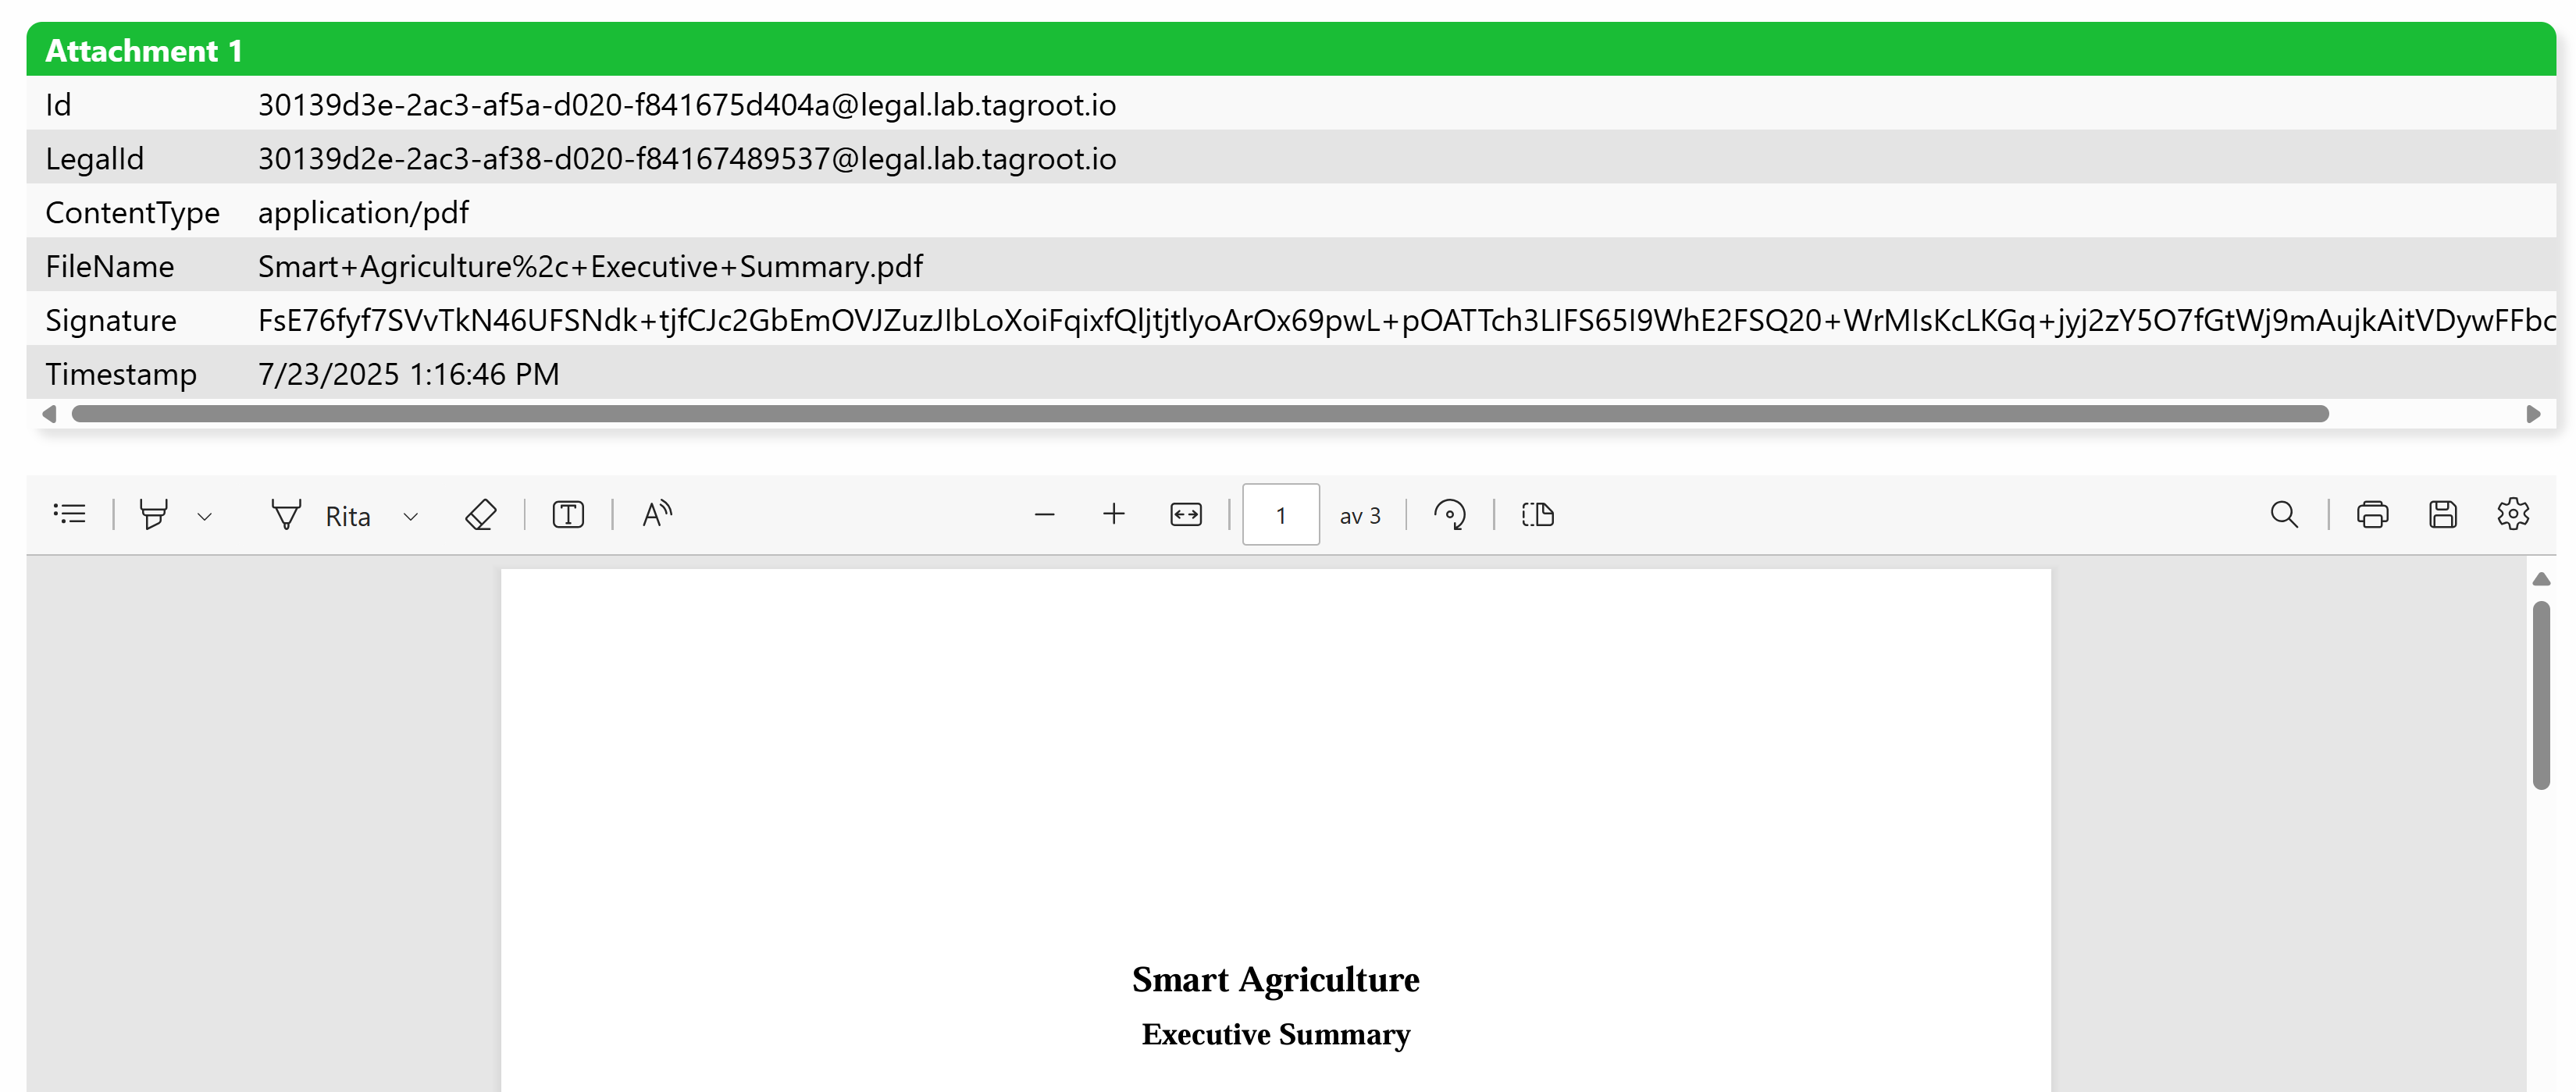
Example:
This makes it seamless, for instance, to include PDF documents in idendity applications. It will be displayed embedded in the application for the operator:
Generation of JavaScript
The Markdown engine can generate JavaScript for you automatically, facilitating the dynamic creation of items on web pages. This conversion can be done either by specifying an Accept: application/javascript header when requesting for a Markdown file, or by referring to a Markdown file with an additional .js extension after the traditional .md extension. Referring this way to a file Test.md.js for instance, will generate a JavaScript rendering of the Test.md file. This method is useful if referring to JavaScript files from the header of an HTML file, for instance, where you cannot control the browser’s selection of HTTP Accept header field in the request.
When converting a Markdown file (for example Test.md) to JavaScript (for example Test.md.js), two functions are created and included in the file:
function CreateHTMLTest(Args);
function CreateInnerHTMLTest(ElementId, Args);
The final Test in the funcion names are taken from the name of the Markdown file being converted. This makes it possible to include multiple JavaScript files generated from multiple Markdown files on the same page. The Args argument can be used to send information to the function, which is later used by inline script when generating HTML.
The first function returns a string containing the HTML generated by the JavaScript. The second function calls the first function to generate HTML, the looks in the DOM of the page to find an element with a given id attribute, and then sets the innerHTML property of that element to the generated HTML.
Things to keep in mind when converting Markdown to JavaScript:
Script placed between double braces
{{and}}is preprocessed on the server and affect the structure of the Markdown, which in turn affects the generated JavaScript. Such script do not have access to theArgsargument. Instead they have access to any session variables that may exist.Script placed between single braces
\{and\}is not processed on the server at all. Instead, it is assumed to be JavaScript itself, and inserted as-is into the JavaScript. This allows you to populate the dynamic HTML using values from your browser, without having to request the server to do it. This also means, that the script syntax normally used for single-braces evaluation on the server, is not used in the JavaScript case. The inline script has access toArgs, but as it runs in the browser, does not have access to server-side session-state variables.If the Markdown only contains a header-less table (i.e. a table with zero header rows), the JavaScript rendered will only generate the table rows, not the surrounding
table,theadandtbodyelements, to facilitate dynamic addition of rows to a table.
Generated JavaScript Example
Consider the following Markdown page, saved as Test.md:
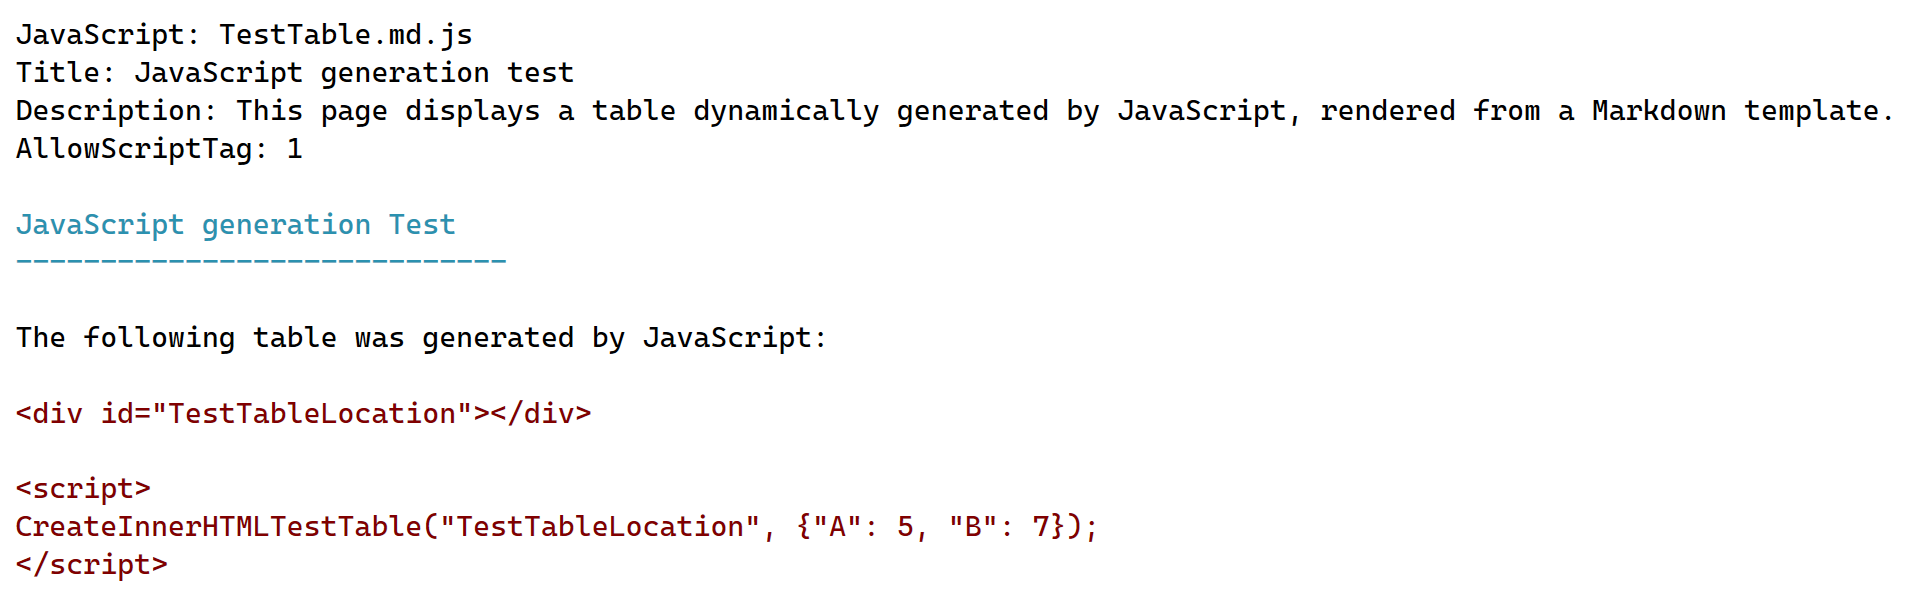
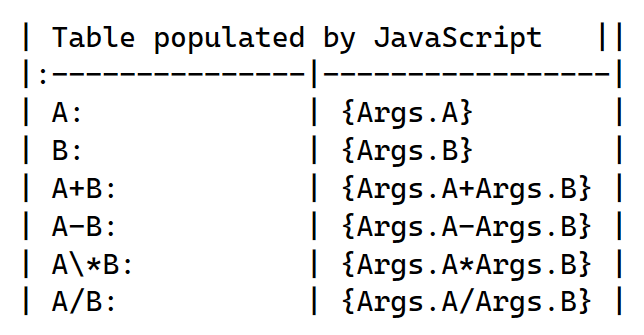
It refers to a Markdown template called TestTable.md, in a JavaScript header. To make sure the server converts this Markdown to JavaScript, the extension .js is added to the filename, resulting in a reference to TestTable.md.js file. When the browser requests this file, the server recognizes that the file does not exist. Instead, it recognizes the .js extension, understands that it refers to the Accept: application/javascript header, and modifies the request to refer to TestTable.md with the corresponding Accept header set. The server then loads the Markdown, converts it to JavaScript, and returns JavaScript that generates HTML from the following Markdown template:
This will generate a page similar to:
JavaScript generation Test
The following table was generated by JavaScript:
| Table populated by JavaScript | |
|---|---|
| A: | 5 |
| B: | 7 |
| A+B: | 12 |
| A-B: | -2 |
| A*B: | 35 |
| A/B: | 0.7142857142857143 |
Utility for converting Microsoft Word documents to Markdown
A new utility called WordToMarkdown has been published helping users to convert Microsoft Word documents (saved in .docx file format) to Markdown. The utility can be used either on the command-line to automate conversions (for instance, if you want to keep a web-site current with content written in Word documents), or via a Windows GUI. The utility can convert single documents, or convert batches of documents identified using one or more wildcards (*).
Download
You can download and install the utility from this link:
https://lab.tagroot.io/Downloads/WordToMarkdown/setup.exe
Once the utility has been installed, you will find it in the Start Menu, by typing WordToMarkdown.
Repository
Source code is available in the MicrosoftInterop repository on GitHub. You can build the utility in Visual Studio, by building the WordToMarkdown project in the solution.
GUI
The GUI of the WordToMarkdown utility is a simple window with the following input controls:
An input file input. Enter the name of the Word file here. You can use wildcards (
*) to identify a batch of files to process. Press the...button to select a file using a file open dialog.An output file input. Enter the name of the Markdown file here. You can also enter the name of a folder. In such a case, the output file will have the same file name as the input file, except having the file extension replaced with
.md. Press the...button to select a file using a file open dialog. If using wildcards (*) in the file name, the number of wildcards should match the number of wildcards in the input file name.A recursive checkbox. If checked, and using wildcards, the utility will scann the input folder, and all subfolders for input files matching the pattern provided in the input file name field.
Press the Convert button to start the conversion process. A message at the end will inform you about the results of the conversion.

Command-Line
You can execute the utility using Command-Line options. This allows you to automate conversions, without the need to use the Windows GUI. If you’ve built the utility using Visual Studio, you will find the executable in the build output folder. If you’ve installed the utility you can find the installation location in the following way:
- Start the utility
- Open the Task Manager, and find the utility in the processes page.
- Right-click on the process, and press Properties.
- Under Location on the first tab, you will find the location where the application has been installed.
Note: Since the installer is a Click-Once installer, the installation location may look strange.
To find the command-line options of the utility, open a terminal window, and go to the location where the utility is installed using the cd command. Type:
WordToMarkdown -?
This will list the command-line options:

Note: Using the command-line options method, you can add custom Markdown meta-data headers to the converted files. This may be useful if generating a web site with content from the Word documents. See the Markdown Meta-data documentation for more information about meta-data tags.
Posts tagged #markdown
No more posts with the given tag could be found. You can go back to the main view by selecting Home in the menu above.