Queue Event Sink
A new Event Sink is available (from build 2026-06-01), permitting the temporary storage of logged events into a local Queue. Queues perist elements in an encrypted manner, and processes them in accordance with FIFO (First-In-First-Out) order. A queue frees processes that generate items from processes that process these items. They can work in different paces, and can be updated/run on different times.
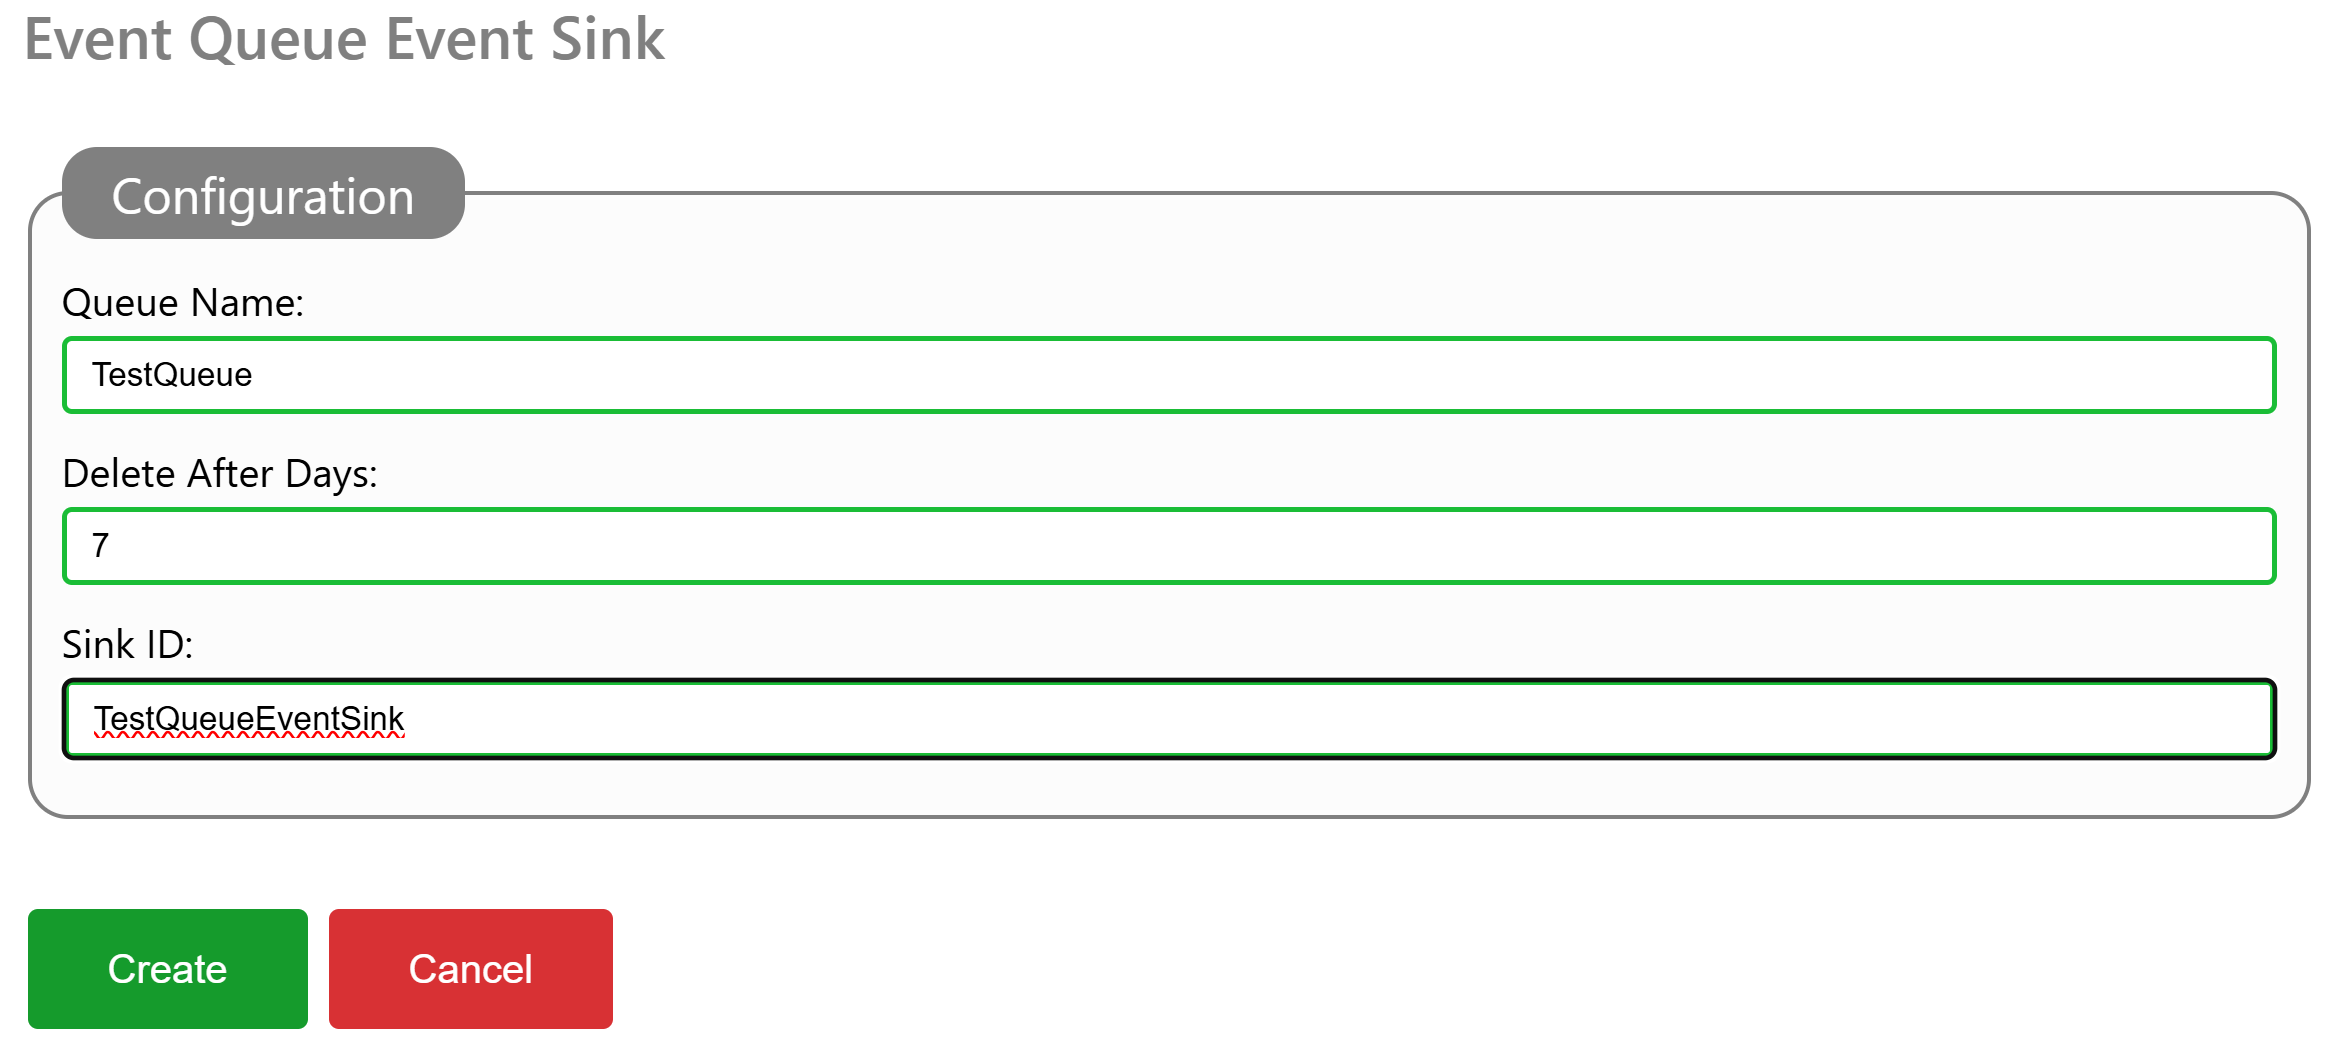
To configure a Queue for temporary encrypted storage, you add a EventQueue element to the event sinks section of the Gateway.config file, and restart the Neuron®. You can also add such an event sink, via the administrative interface, under Sources & Nodes, and the Gateway configuration source.
You need to provide a Name for the Queue. This Name is later used to dequeue items that have been enqueued by the event sink. You also provide a number of days which items are stored in the queue. Older items are regularly purged from the queue, to avoid it growing indefinitely. A Sink ID must also be provided. This ID appears in event logs, in case something related to the event sink needs reporting.
To access enqueued events, you can either dequeue them in local services, or use the Queue API. If you are using Postman, there’s a public repository containing a Postman collection for the Queue API.
#new, #features, #neuron, #gateway, #events, #eventsink, #api, #queue
Custom Event Sinks
From Build 2026-01-06 the IoT Gateway now supports configuration of custom Event Sinks in the gateway.config file. On the TAG Neuron, the contents of this file is editable, via the corresponding data source. From the Sources & Nodes menu in the administrative panel, the data source Gateway configuration now contains a new node called EventSinks:

Adding custom event sinks
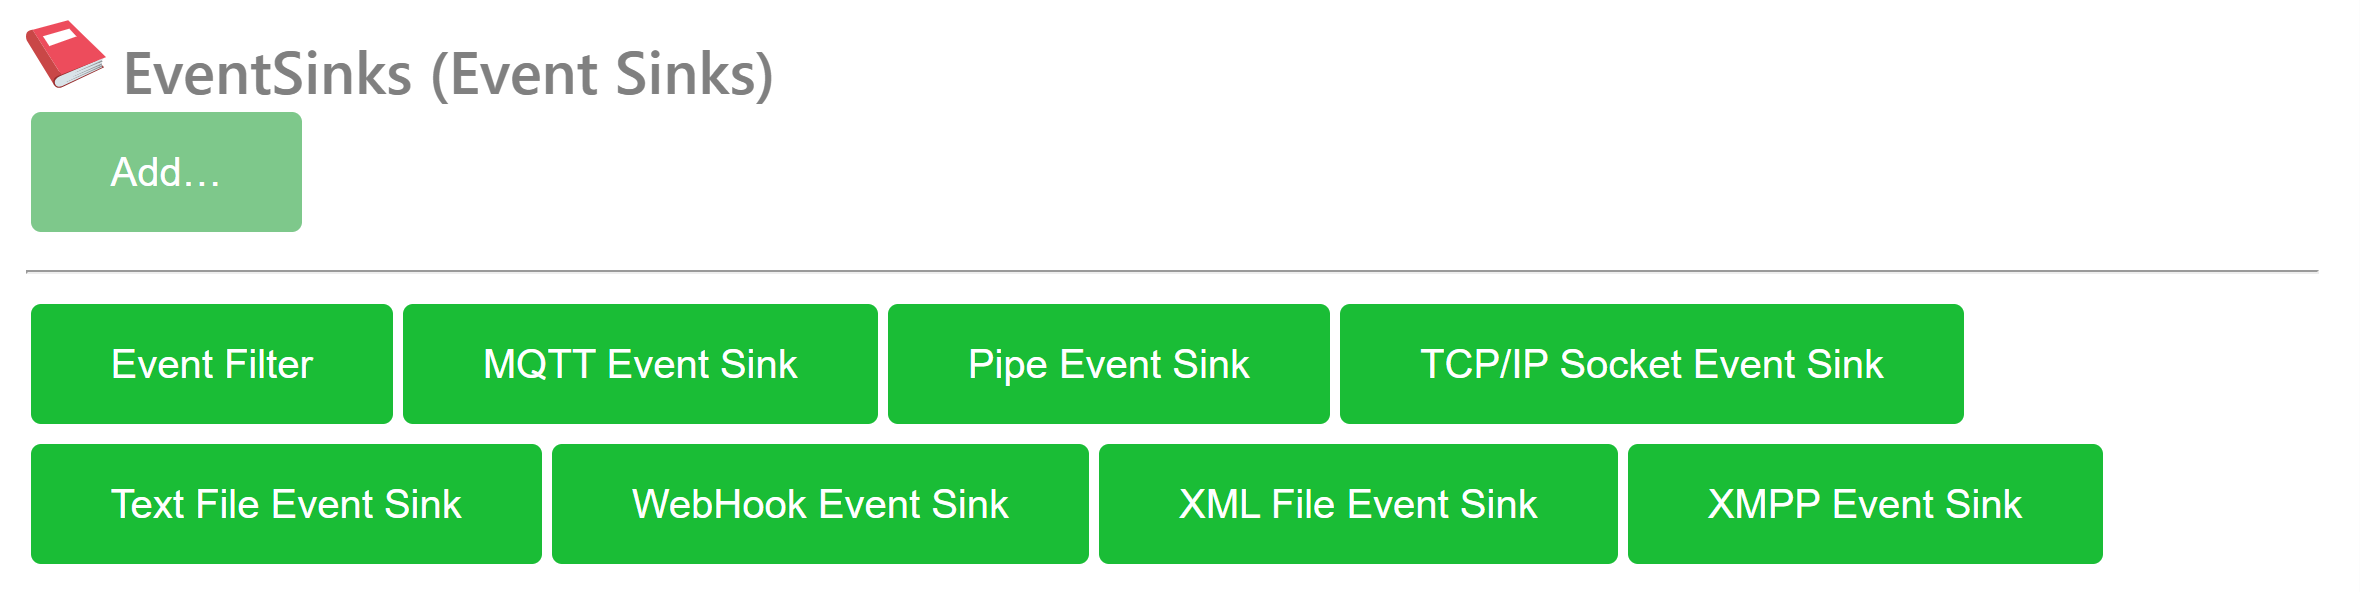
By selecting the EventSinks node, and pressing the Add button, you can add new event sinks. The options available depend on what services are hosted on the Neuron:
Default Event Sink Types
The following event sink types are available by default, at the time of writing:
Event Filter allows you to filter out a subset of events of interest. The Event Filter sink then passes it on to child-sinks, which propagate them in accordance with their instructions.
MQTT Event Sink propagate incoming events to a topic on an MQTT broker.
Pipe Event Sink forwards events to an operating system Pipe, allowing another process on the machine access to the events.
TCP/IP Socket Event Sink sends the logged events via TCP/IP to a remote machine.
Text File Event Sink stores events in text files. By including date and time tags in the file name, a sequence of files can be generated. The event sink also automatically delete old files.
WebHook Event Sink forwards events to an external source using
POST. The protocol used depends on the URI scheme used by the Callback URI. The WebHook Event Sink can also collect and group events together, for easier processing on the recipient side.XML File Event Sink records events into XML files. Date and Time tags in the filename allow you to create a sequence of XML files generated. Old files are automatically deleted.
XMPP Event Sink sends logged events to an XMPP recipient. Child Nodes
Install Gateway on a Mac (iOS)
Installing Lil’Sis’ (LS) on a MacBook (iOS device) with Apple Silicon M1 Processor
To install and run Lil’Sis’ on the M1 Macbook, you will need a simulated environment or a virtual machine (VM) that enables a Virtual PC on your Mac. I used the Parallels Desktop for Mac.
The following steps were tested on a M1 Macbook Air. However, it might work for other Macbooks with different processor architectures.
Download a virtual environment program (Parallels):
- Visit the program’s official website and locate the download section Parallels. Look for a version optimized explicitly for Apple Silicon M1 or ARM-based processors. Download the installer package (usually a .dmg or .pkg file).
- Once Donlodaded, install the program and follow the instructions to install and run Windows on your Mac.
Install the Lil’Sis’:
Once you have set up a Windows environment on the Mac, you can follow the installation steps for Lil’Sis’. Install Lil’Sis’
Posts tagged #gateway
No more posts with the given tag could be found. You can go back to the main view by selecting Home in the menu above.